
Podcasting
How to Prepare Audio and Video Files Before You Send Them for Editing or Transcription
How to prepare audio and video files for transcription or editing: the right format, clear file names, sharing by link and a short brief.
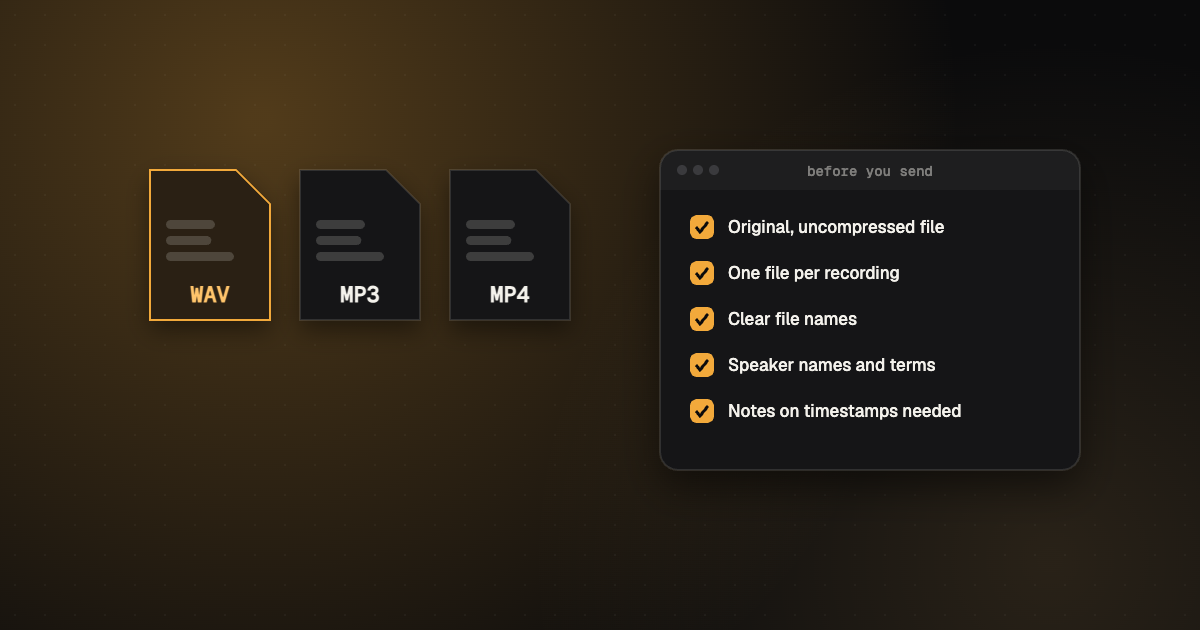
The quality of an edit or a transcript starts before anyone presses play. A file that’s heavily compressed, split across ten email attachments or named “New Recording 47” costs time at every step that follows. Here’s how to prepare audio and video files before you send them for editing or transcription, in about five minutes.
Send the original, highest-quality file (WAV or a high-bitrate MP3 for audio, the original MP4 or MOV for video), one file per recording, with a clear name. Share large files by link, not email. Add a short note with speaker names, special terms, the transcript style and any timestamps you need.
Choose the right file and format
| You have | Send | Avoid |
|---|---|---|
| Studio or podcast audio | The original WAV, or MP3 at a high bitrate | Re-compressed or voice-memo copies |
| Separate tracks per speaker | Every track, plus a mixed version | Only the mixed file, if tracks exist |
| Video | The original MP4 or MOV | Screen recordings of the video playing |
| Phone recordings | The original file from the phone | Copies sent through chat apps, which compress them |
For transcription only, audio is enough and uploads faster than video. For captions or video editing, send the video.
Name files so nobody has to guess
Use one pattern and stick to it: project-date-speaker-part. For example, ep42-2026-11-06-host.wav or focusgroup-berlin-session2.mp3. Avoid spaces and special characters, which can break on some systems.
Share large files by link
- Use Google Drive, Dropbox or OneDrive and set sharing to “anyone with the link” (or share with the person directly).
- Don’t split recordings to fit email limits; it adds joins and confusion.
- Check the link in a private browser window before sending.
Signed-in users of the CadreScripts editor can paste a Google Drive, Dropbox, OneDrive or direct file link and transcribe it straight away. Files can be up to 3 GB; transcription accepts files up to 2 GB and 8 hours. YouTube and Vimeo don’t allow downloading, so upload the file itself.
Send a short brief with the files
- Speaker names and how to label them (names or roles).
- Names and terms likely to come up: people, places, products, jargon.
- Style: verbatim, clean verbatim or edited.
- Timestamps: none, every paragraph, or every 30 seconds.
- Languages, if speakers switch between two.
- Format back: Word, PDF, SRT, WebVTT.
Listen to 30 seconds from the start, middle and end before sending. You’ll catch a silent track, the wrong file or a recording that cut off early before anyone else wastes time on it.
Fixing bad audio first
If a recording has heavy noise, echo or a buzzing hum, cleaning it before transcription or editing can help. That’s sound work, done by people, not by the transcript editor: our audio clean-up starts from $1.25 a minute (pricing). For the next steps once your files are ready, read how to transcribe audio to text.
Frequently asked questions
What is the best audio format for transcription?
The original recording: WAV if you have it, otherwise a high-bitrate MP3 or M4A. Avoid copies that have been compressed again.
Should I send video or audio for transcription?
Audio is enough for a transcript and uploads faster. Send the video if you also need captions or editing.
Your next step
Ready to send? Request a quote for transcription or editing, or open your file in the free editor.
Keep reading