How to Edit a Riverside Recording (Separate Tracks, Step by Step)
Download the right Riverside files, line up separate tracks, clean each voice and export at −16 LUFS. A step-by-step guide from podcast editors.
In this article
Your guest finally said something brilliant, the Riverside session ended without a hitch, and now you’re staring at a recordings page with six download buttons. Which file do you actually want? (Hint: not the one that says “MP3.”)
To edit a Riverside recording properly, download each person’s raw audio WAV track (not the mixed file), import every track into your editor on its own lane, line them up, clean each voice separately, cut the conversation, then mix and export at about −16 LUFS. Riverside’s own editor is fine for quick trims; separate tracks are what give you real control.
Why you want separate tracks, not the mixed file
Riverside records each participant on their own device and uploads those files during or shortly after the session, so a shaky internet connection doesn’t wreck the audio. That’s the whole point of the platform. If you then download the single mixed file, you throw that advantage away.
With one track per speaker you can:
- remove the host’s keyboard clatter without touching the guest’s voice,
- fix crosstalk when two people talk at once,
- turn down the guest who sits too close to the mic and leave everyone else alone, and
- cut a cough out of one track while the other person keeps talking.
On a mixed file, every one of those fixes affects everybody. That’s how you end up with a host who sounds like they’re underwater because the guest’s fan needed taming.
Step 1: Download the right files
- Log in to Riverside and open the studio that holds the recording.
- Select the project, then click Recordings in the top menu.
- Scroll to the session you want. Under Tracks, find each participant.
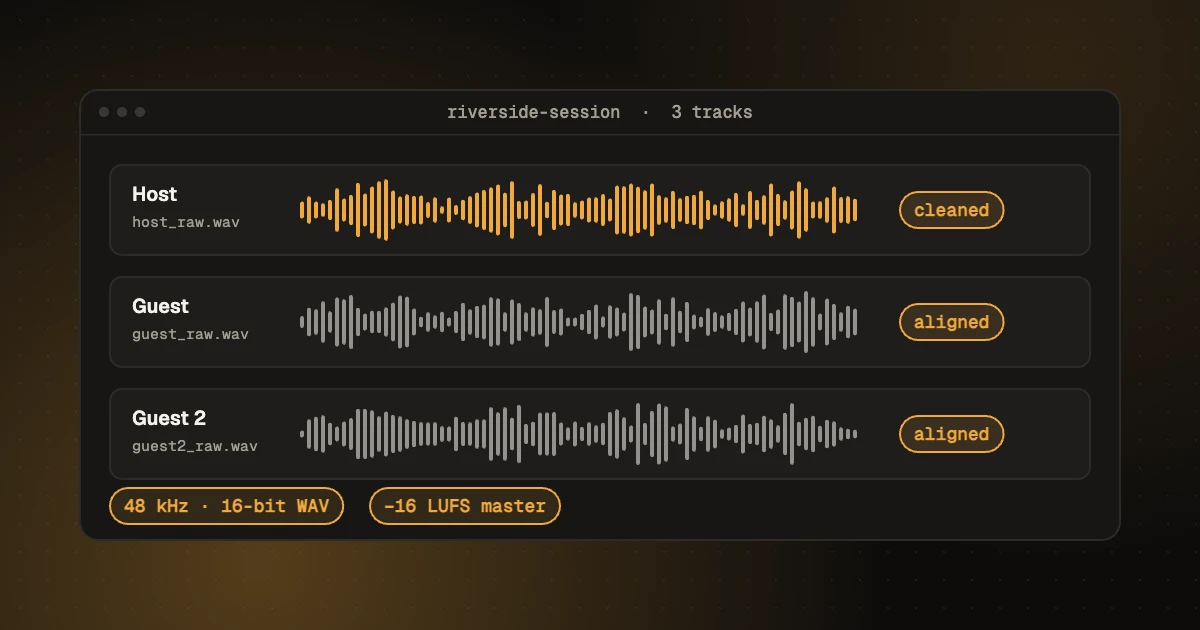
- Click Download next to each person’s track and choose raw audio (uncompressed WAV). For a video podcast, also download each person’s video.
Riverside’s raw audio is 16-bit WAV at 44.1 or 48 kHz, depending on the studio’s settings. The compressed audio option is a 64 kb/s MP3, which is fine for a rough listen and not much else.
| File option | What it is | Use it for |
|---|---|---|
| Raw audio (WAV) | Uncompressed, one file per person | Editing. This is the one. |
| Aligned files | Raw files with silence added at the start so every track lines up | Anyone who joined late, or a screen share that started mid-session |
| Magic Audio | Riverside’s AI-enhanced version of each track | A quick, decent result if you won’t process the audio yourself |
| Compressed audio (MP3) | 64 kb/s MP3 | Reviewing on your phone, sending a guest a listen |
Separate-track downloads count against your plan’s monthly download hours. On a free account that’s 2 hours; once you go over, the individual-track option disappears until the allowance resets. Recording three people for one hour uses one hour, not three. If you’re editing for a client, ask them to download the tracks before their allowance runs out, or to add you to the studio.
Pick either raw or Magic Audio for each speaker, not a mix of both. Processing an already-processed track usually makes it sound thin and swirly, and mixing the two styles makes one person sound like they’re in a different room.
Step 2: Import every track and line them up
Create a new multitrack session in your editor (Audition, Reaper, Logic, Pro Tools, Hindenburg or Audacity all work) and set the project sample rate to match the files: 48 kHz if Riverside recorded at 48 kHz, 44.1 kHz if not. A mismatch is how you get a guest who drifts out of sync by the 40-minute mark.
Drop each speaker’s WAV onto its own track, all starting at zero. If everyone joined at the start, they’ll already line up. If someone joined late, use the aligned version of their file, which has the padding built in.
Recordings made in Riverside’s mobile app or macOS app come as raw tracks without that alignment padding. For those, find a sharp sound everyone made together (a laugh, a clap, the host’s “okay, we’re recording”) and slide the tracks until the waveforms match. Zoom in close. Being a few milliseconds off sounds like a faint echo.
Before you touch anything, solo each track and listen to 30 seconds from the start, middle and end. You’ll hear the problems you’re dealing with (the hum, the echoey kitchen, the guest who touches their mic) before you’ve spent an hour on the wrong fix.
Step 3: Clean each voice on its own track
Work on one speaker at a time, in this order:
- Noise reduction, gently. Take a noise print from a quiet gap and reduce by a modest amount. Overdo it and voices get that robotic, phone-line quality.
- EQ. A high-pass filter around 70–90 Hz removes rumble from desks and air conditioning. Then cut any boxy or harsh frequencies you can hear, rather than boosting everything you like.
- De-essing if the “s” sounds hiss.
- Compression so the quiet and loud moments sit closer together. A ratio of 2:1 to 4:1 is a sensible starting point for speech.
Then deal with bleed: when guests don’t wear headphones, the host’s voice leaks into the guest’s mic and you hear everything twice. A noise gate or “strip silence” on each track mutes it between that person’s lines. Check that the gate doesn’t chop off the first syllable of a sentence; if it does, slow its attack or lower its threshold.
Step 4: Edit the conversation
Now cut for content: the false start, the five-minute tangent about the guest’s cat, the “can you hear me?” at the top. Because each person is on their own lane, you can tighten a pause on the host’s track without clipping the guest’s laugh underneath.
Editing from a transcript is much faster than scrubbing through waveforms. Read the conversation, mark what goes, and jump straight to each timestamp. Our step-by-step podcast editing guide walks through the whole workflow, and the guide to removing “um” and “uh” covers how far to go before it sounds robotic.
Get the transcript of your episode in the CadreScripts editor, read it with the audio playing alongside, and bookmark every cut before you open your audio editor. Editing transcripts is free in your browser.
Step 5: Mix, set the loudness and export
- Balance the speakers so nobody is noticeably louder than anyone else.
- Add intro and outro music, and make sure it isn’t louder than the voices. It almost always is on the first try.
- Put a limiter on the master with its ceiling at −1 dB true peak.
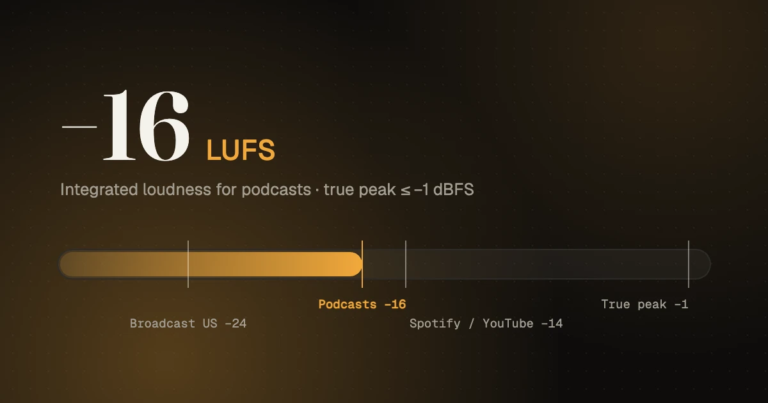
- Normalize the finished mix to about −16 LUFS, the level Apple Podcasts asks for. Our guide to −16 LUFS explains what that number means and how to hit it.
- Export a WAV master to keep, then the file your podcast host wants (usually MP3 or AAC).
When Riverside’s own editor is enough
Riverside has a built-in editor where you can trim the recording, adjust the layout and export it as MP4 video (up to 4K), uncompressed WAV or a 64 kb/s MP3. Exports there combine everyone’s tracks into one file.
Honestly? For a quick internal recording, or a show where the audio is already clean, that’s plenty. Move to a multitrack editor when you need to fix one person without affecting the others: noise on one mic, crosstalk, wildly different levels, or a guest in a reverberant room.
Common Riverside editing mistakes
- Editing the mixed MP3. You lose the separate tracks and the quality, all at once.
- Mismatched sample rates between the files and the project, which shows up as drift later in the episode.
- Stacking processing: Magic Audio plus heavy noise reduction plus more compression.
- Forgetting the video. If you cut the audio for a video podcast, cut the video at exactly the same points, or edit both in a video editor from the start.
- Running out of download hours halfway through a season. Check the allowance before the client books ten interviews.
If you’d rather hand the whole thing over, our editors work from separate tracks: send the raw WAVs and get a finished, mastered episode back. See podcast editing and prices.
- Audio and video cutter: trim a Riverside file without re-encoding it.
- Audio converter: turn a WAV into AAC, or pull the audio out of a video.
- Audio and video compressor: shrink a file before you send it.
All free in your browser, with nothing uploaded and no sign-up.
FAQ
Can you edit a Riverside recording in Audacity?
Yes. Download each speaker’s raw WAV, import them into one Audacity project so each lands on its own track, line them up, and edit as normal. Set the project rate to match the files first.
Should I use Magic Audio or the raw tracks?
Use raw tracks if you or an editor will clean the audio; you get more control and fewer artifacts. Magic Audio is a reasonable shortcut when nobody will process the audio afterward. Don’t run both through heavy processing.
Why are my Riverside tracks out of sync?
Usually because someone joined late and you used the raw file instead of the aligned one, or the recording came from the mobile or macOS app, which doesn’t add alignment padding. A sample-rate mismatch between the files and your project can also cause slow drift.
What format should I export my edited podcast in?
Keep a WAV master, then export what your host asks for. Apple Podcasts recommends AAC for RSS feeds and accepts MP3; 128 kbps or higher is a safe choice for stereo at 44.1 or 48 kHz.
Sources, checked 10 November 2026: Riverside Help Center, About high-quality tracks, Download high-quality tracks, download hours and About edits and clips; Apple, Apple Podcasts audio requirements.