How to Edit a Podcast: A Beginner’s Step-by-Step Workflow
A beginner’s podcast editing workflow: plan cuts on a transcript, edit and clean up the audio, master to -16 LUFS and publish with show notes and chapters.
In this article
It’s 11 PM, your episode goes live tomorrow, and you’ve just heard yourself say “um” for the 47th time. Welcome to podcast editing. The good news: it gets much faster once you have a workflow, and you don’t need expensive software to get there. Here’s how to edit a podcast, step by step, the way working editors do it.
To edit a podcast: back up the raw files, make a transcript, plan your cuts on the transcript, make the content edits in an audio editor, clean up noise and levels, add your intro and music, master to about -16 LUFS, then export an MP3 and publish with show notes.
The podcast editing workflow at a glance
Most beginners jump straight into the waveform and start snipping. That’s the slow way. Editing goes faster when you separate the decisions (what stays, what goes) from the mechanics (making the cuts sound clean).
| Stage | What you do | Where |
|---|---|---|
| 1. Organise | Back up, name and sync the files | Your computer |
| 2. Transcribe | Get the episode as text with timestamps | A transcript editor |
| 3. Plan the edit | Mark what to cut, move and keep | The transcript |
| 4. Content edit | Make the cuts | An audio editor (DAW) |
| 5. Clean up | Noise, breaths, clicks, levels | The DAW or plug-ins |
| 6. Assemble | Intro, outro, music, ads | The DAW |
| 7. Master and export | Loudness, peaks, MP3 | The DAW |
| 8. Publish | Show notes, chapters, transcript, clips | Your host and socials |
What you need to edit a podcast
You need less than the internet would like to sell you.
- An audio editor (DAW). Audacity is free on Windows, Mac and Linux. GarageBand comes free on Macs. Reaper is inexpensive and powerful. Any of them can edit a podcast well.
- Headphones. Closed-back, wired, nothing fancy. You can’t hear mouth clicks or a hum through laptop speakers.
- A transcript editor. This is the part beginners skip and pros don’t. It turns a 60-minute listen into a 15-minute read.
Honestly? For a two-person interview show, a free DAW and decent headphones will take you a very long way. Spend money on the microphones before the software.
Step 1: Organise and back up your files
Before you touch anything, copy the raw recordings somewhere safe and never edit the originals. Then name them so future-you understands them: ep42-host-raw.wav, ep42-guest-raw.wav. If you recorded each person on a separate track, line the tracks up at the start (a clap or a shared “three, two, one” makes this easy).
Step 2: Transcribe the episode
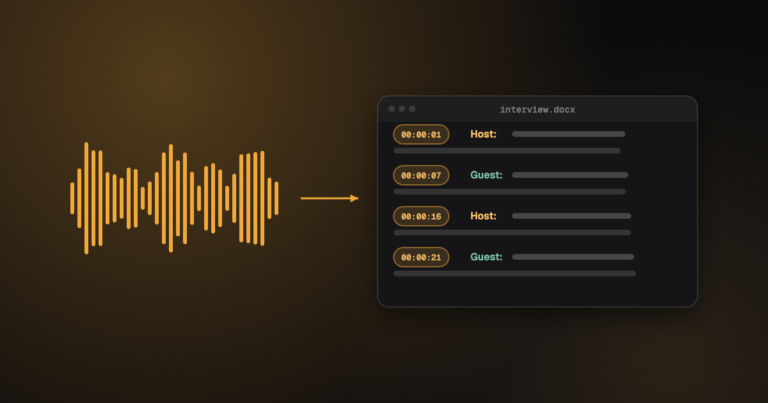
A transcript is the single biggest time-saver in podcast editing. Reading is much faster than listening, and you can search it. Need to find where the guest mentioned their book? Ctrl+F beats scrubbing through 50 minutes of audio.
Our guide on how to transcribe audio to text covers the options. The short version: an AI transcript is fine for planning an edit, because you only need it to be close enough to find things. You’ll want it checked properly later if you’re publishing it.
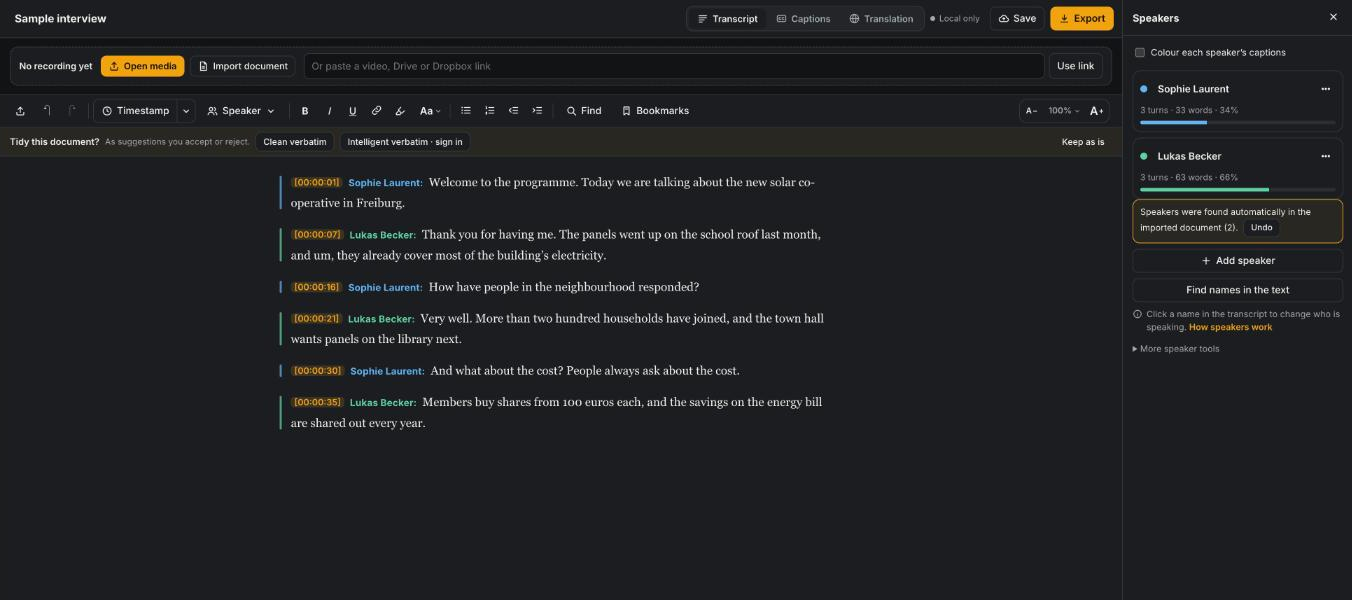
Step 3: Plan the edit on the transcript (the paper edit)
This is where the real editing decisions happen. Read through the transcript with the audio beside it and mark:
- Cuts: tangents, false starts, the five minutes spent fixing a microphone, anything off the record.
- Moves: a great story that would make a better opening.
- Keepers: lines strong enough for a trailer, a clip or the episode title.
In the free CadreScripts editor you can do this right in the text: strike through what you want cut (Ctrl+J), highlight the best moments in different colors (Ctrl+Shift+H), and bookmark paragraphs so they show as marks on the player’s timeline. Click any word or timestamp to hear it. Export the marked-up transcript to Word with timestamps and you have a cut list to follow in your audio editor, or to send to whoever edits for you.
The transcript editor plans the edit; it doesn’t change the sound. The actual cuts, noise removal and mixing happen in your audio editor (or with a human editor, if you hand it off).
Step 4: Make the content edits
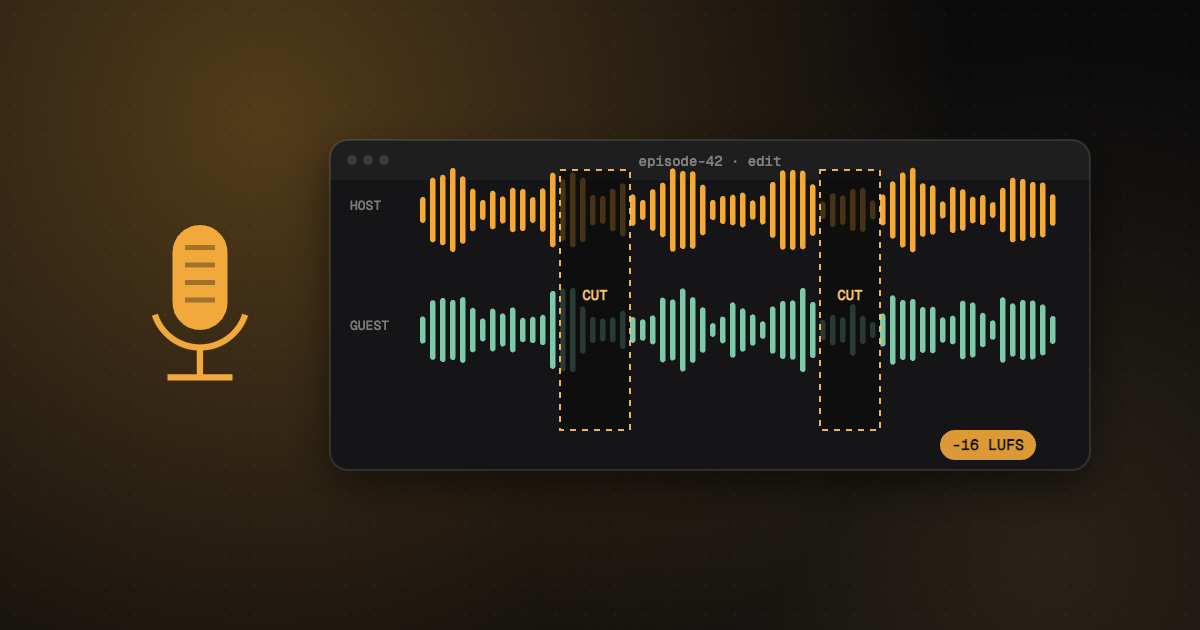
Now open the audio editor and follow your cut list from the top. A few habits that make cuts invisible:
- Cut on breaths or pauses, never mid-word. The space before a word is your friend.
- Use short crossfades (a few milliseconds) on every cut to avoid clicks.
- Keep the rhythm. Removing every pause makes people sound like they’re racing. Leave natural gaps.
- Edit all tracks together when they’re separate, so nobody drifts out of sync.
- Listen to every edit once at normal speed before moving on.
What about “um” and “uh”?
Take out the ones that distract, not all of them. A podcast with every filler removed sounds robotic and oddly breathless. A good rule: cut fillers at the start of answers and in long chains (“um, so, uh, yeah”); leave the occasional one mid-thought. When you read the transcript, a clean verbatim pass shows where the fillers cluster, which tells you where to focus.
Step 5: Clean up the audio
Once the content is right, fix the sound. Work in this order, because each step affects the next:
- Noise reduction for steady hum or hiss. Use it gently; too much makes voices sound underwater.
- EQ to remove low rumble (a high-pass filter around 80 Hz is a common start) and tame harshness.
- De-essing if “s” sounds are sharp.
- Compression to even out loud and quiet moments, so listeners aren’t riding the volume.
- Level matching so host and guest sound equally loud.
If a recording is badly damaged (echo, wind, a noisy café), that’s specialist work. Our team does audio clean-up and restoration from $1.25 a minute.
Step 6: Add intro, outro and music
Keep the intro short. Listeners subscribed for the conversation, not a 90-second theme tune. Duck the music under speech so words stay clear, and make sure you have the rights to any music you use: royalty-free libraries or a license, not a track you like from the radio.
Step 7: Master and export
Mastering makes your episode sound consistent with every other show in the listener’s app. The target to aim for is the one Apple Podcasts publishes: overall loudness around -16 LKFS (the same scale as LUFS) with a 1 dB tolerance, and true peaks no higher than -1 dB, according to Apple’s audio requirements (checked 6 November 2026).
| Setting | Common choice |
|---|---|
| Loudness | About -16 LUFS (±1 dB) |
| True peak | No higher than -1 dB |
| Format for your host | MP3 (or AAC) |
| Sample rate | 44.1 or 48 kHz |
| Bit rate | Apple lists 64–128 kbps for mono and 128–256 kbps for stereo RSS feeds |
Most DAWs have a loudness meter or a normalise-to-LUFS option. Export a master WAV for your archive and the MP3 for publishing.
Step 8: Publish with show notes, chapters and a transcript
The episode is done, but the work that brings listeners in isn’t. Every episode should go out with:
- Show notes: a short description, the guest’s links and the key points.
- Chapters with times, for listeners and for YouTube.
- A transcript, for accessibility and for search engines, which can’t listen to audio.
- Clips for social media.
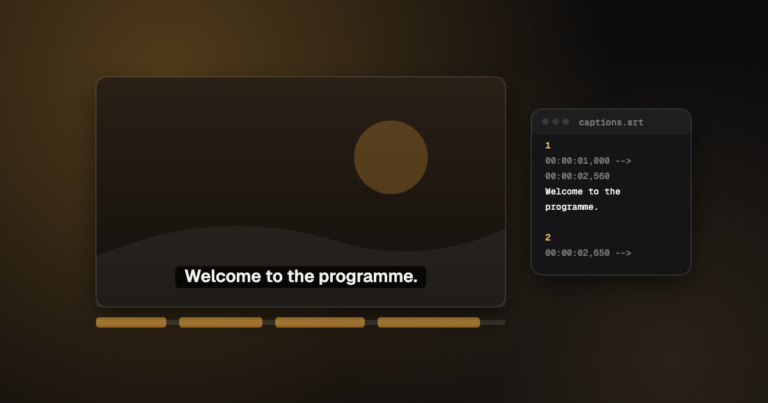
The transcript you made in step 2 feeds all four. Check it, then reuse it. Signed-in editor users also get an Episode kit, which drafts title ideas, a description, chapters with exact times, quotes and social posts from the transcript. For video podcasts, captions come from the same transcript; our guide to adding subtitles to a video walks through it.
Editing remote interviews
Remote shows bring their own problems: one person sounds great, the other sounds like they’re in a biscuit tin, and the internet adds its own little stutters. Three habits help.
- Record each person locally if your recording platform allows it, then line the tracks up. A local recording doesn’t suffer from the call’s dropouts.
- Fix crosstalk on separate tracks. When both people talk at once, you can lower one track for a moment instead of cutting both voices.
- Match the two voices with EQ and level so the guest doesn’t sound like they phoned in from another decade.
If the guest’s track is on a laptop microphone in an echoey room, no amount of editing makes it sound like a studio. You can make it clearer and less distracting, and that’s worth doing.
Editing a video podcast
More shows now publish on YouTube as well as in audio apps, and video adds a layer of work. The order still holds: plan on the transcript, then cut. The difference is that every audio cut is now a visible jump, so editors cover cuts with a switch to the other camera angle or a close-up.
Video also needs captions, because many viewers watch on mute, and chapters, which YouTube shows on the progress bar. Both come from the transcript you already have. Short vertical clips for Reels, TikTok and Shorts need captions burned into the picture; see our guide to adding subtitles to a video for how.
Beginner mistakes that cost you listeners
| Mistake | What to do instead |
|---|---|
| Long musical intro before anyone speaks | Open with a strong line from the episode, then a short sting |
| Host much louder than the guest | Level-match the voices before mastering |
| Over-processed, “underwater” voices | Use less noise reduction; accept a little background |
| Every pause and breath removed | Keep natural gaps; cut only distracting ones |
| Episode much quieter than other shows | Master to about -16 LUFS |
| Publishing with no notes or transcript | Reuse the transcript for notes, chapters and a page Google can read |
None of these need expensive tools. They need a routine, and a checklist you actually look at before you hit publish.
How long does podcast editing take?
It depends on the show and how polished you want it. A light edit of a clean interview (trim the start and end, a few cuts, levels) can take about as long as the episode itself. A heavily produced show with music, many cuts and noisy audio can take several times the episode length. Planning on the transcript first is the most reliable way to bring that down.
Import your episode transcript into the CadreScripts editor, strike through what to cut and export your cut list with timestamps. Free in your browser, no install.
Should you edit it yourself or hire an editor?
| Edit it yourself if… | Hire an editor if… |
|---|---|
| You enjoy it, or you’re learning | Editing eats the time you’d rather spend on guests and promotion |
| Episodes are short and clean | You publish weekly and episodes are long |
| Budget is tight | Sound quality is part of your brand |
| Your show is lightly produced | The audio often needs repair |
CadreScripts podcast editing and mastering costs from $1.75 a minute, with a 24-hour turnaround for episodes up to an hour. The Podcast Pro package adds an English transcript for $2.00 a minute in total, and podcast clients get the AI editor free with 6 hours of audio and 25,000 words a month (prices on our pricing page).
Trim the warm-up chat with the audio and video cutter (MP3, WAV and MP4 cuts keep their quality), turn a WAV master into a smaller AAC file with the audio converter, and shrink a file to send to your editor with the audio and video compressor. All free in your browser, with nothing uploaded and no sign-up.
Frequently asked questions
What is the best free software to edit a podcast?
Audacity is the most common free choice and works on Windows, Mac and Linux. Mac users also have GarageBand. Pair either with a free transcript editor for planning cuts and you have a complete free workflow.
How do I edit a podcast for beginners?
Start simple: back up the files, read a transcript to decide what to cut, make those cuts with short crossfades, even out the levels, add a short intro, and export at about -16 LUFS. Add more polish once that routine feels easy.
Should I remove all the “ums” from my podcast?
No. Remove the distracting ones and leave some, or your hosts will sound unnatural. Focus on fillers at the start of answers and in long chains.
What volume should a podcast be?
Around -16 LUFS integrated loudness with true peaks below -1 dB, which is what Apple Podcasts recommends.
Why make a transcript if I’m only editing audio?
Because reading and searching text is much faster than listening, and the same transcript then gives you show notes, chapters, captions and a page search engines can read.
Your next step
Plan your next episode’s edit on the transcript: try it free in your browser. Or hand the whole thing over: get your episode edited and mastered by our team.